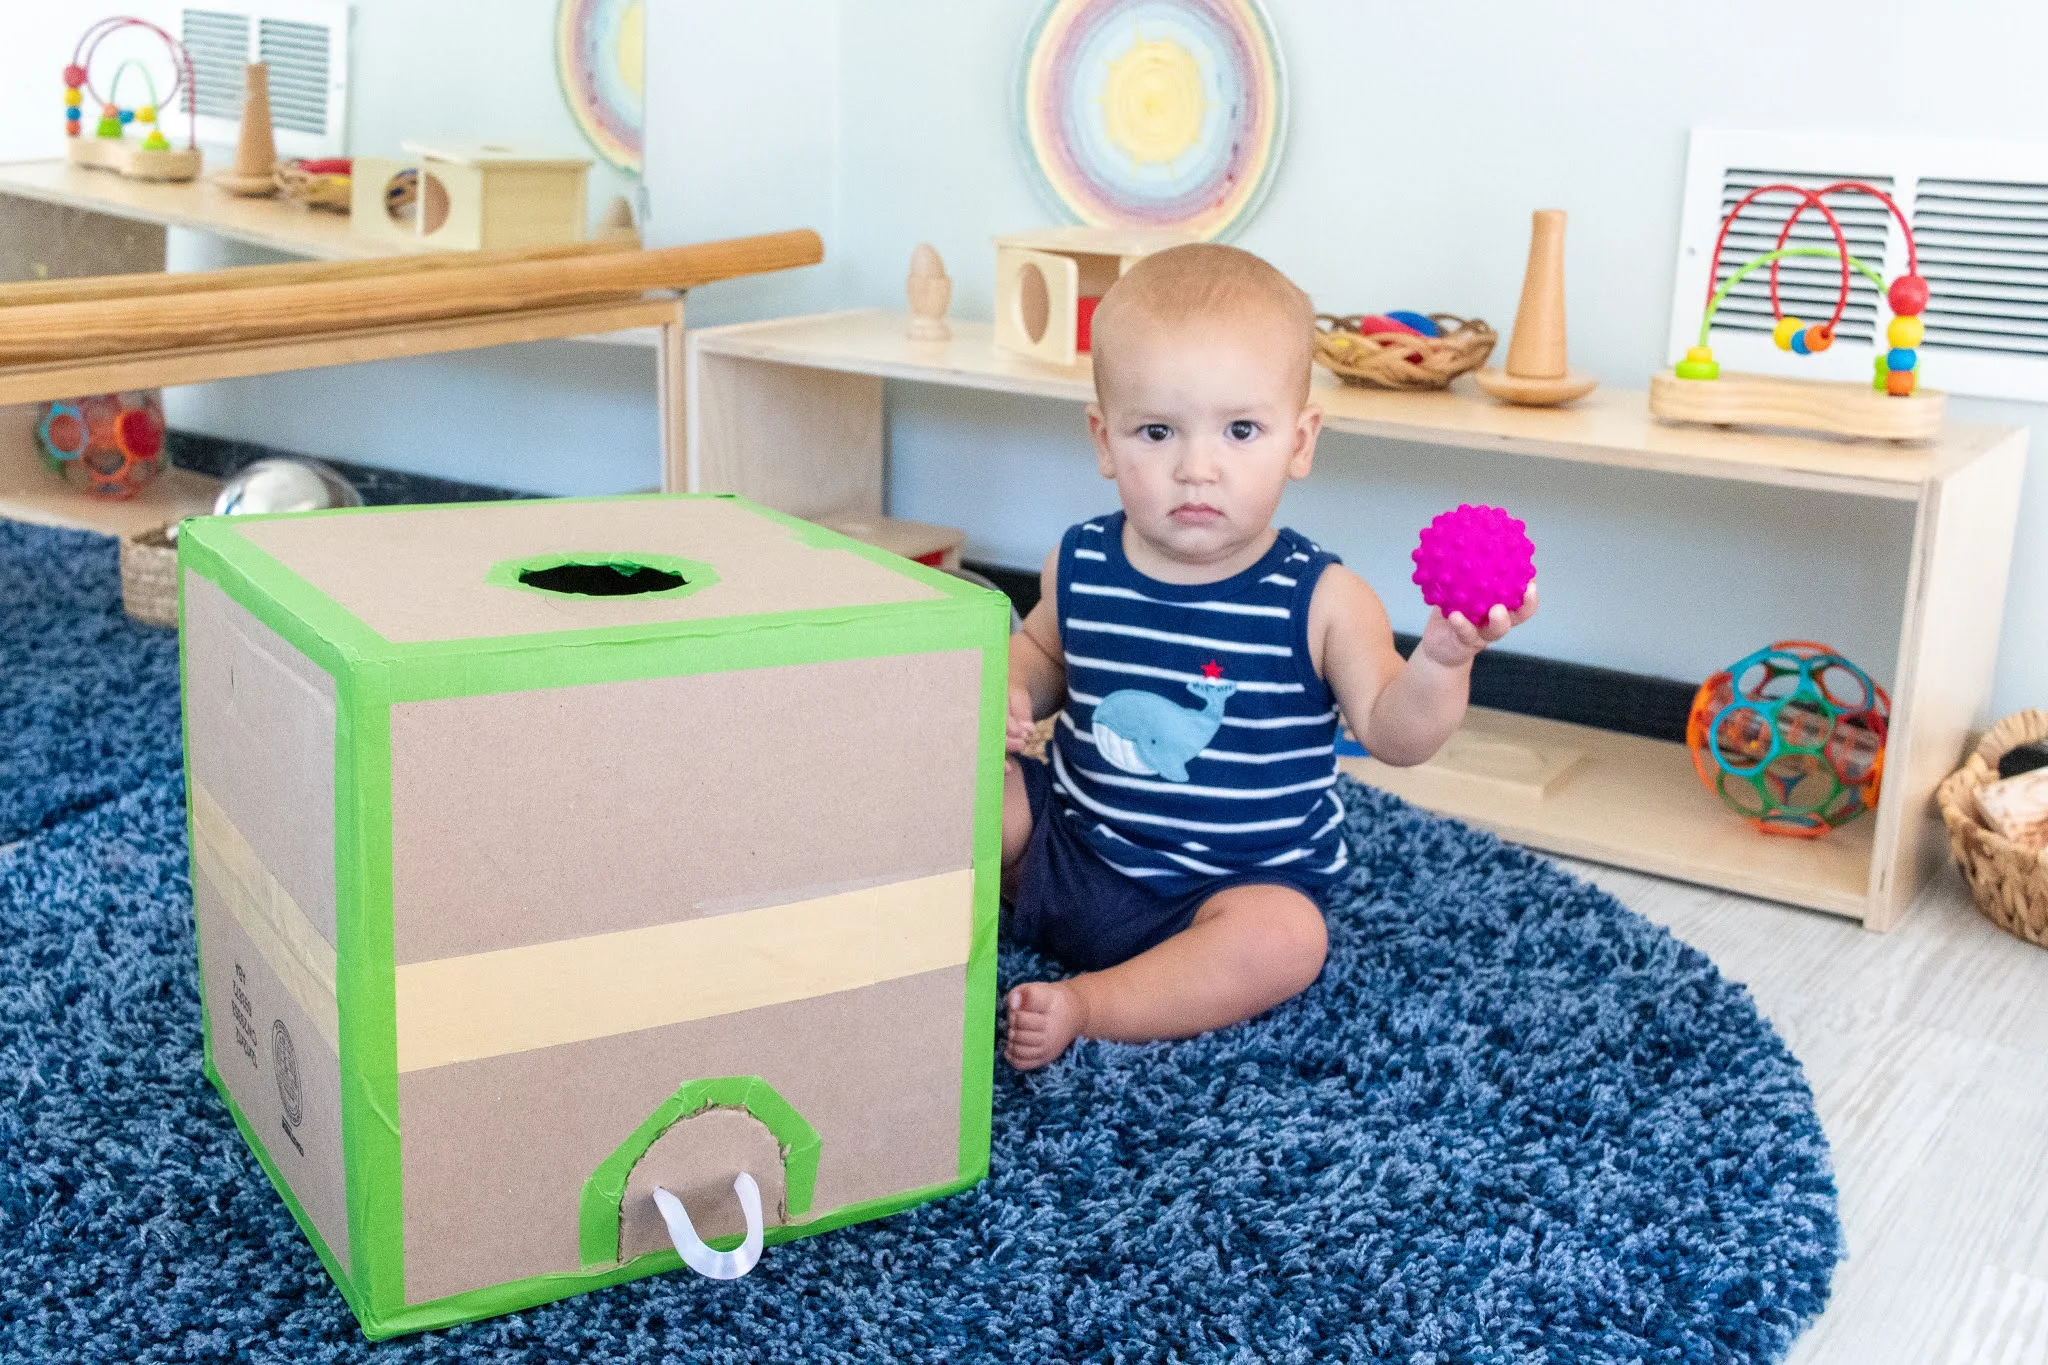
There's nothing like a good DIY to expand on an interest you see in your child. I've mentioned this before, but Teddy really really loves object permanence work. As he is getting older, that interest is continuing and I wanted to expand on it a bit as his skills grow.
This post contain affiliate links at no cost to you.
I could have done that by getting an object permanence box with a drawer. But, now that he is also focusing so much on gross motor play, I wanted to combine the two a bit. The smaller box was really more stationary. Then it occurred to me - I needed to go big! So, I've been waiting until I got the perfect box in the mail (as in until something was randomly delivered in a box I liked.) When that finally happened this week, I jumped on the chance to make this giant Montessori object permanence box.
You'll need:
- A recycled box - I wanted one larger enough for Teddy to have to stand up to use, but it could be any size - plus some extra cardboard
- Scissors
- Painters Tape
- Some ribbon
- Balls
To Make:
- Cut and extra piece of cardboard to the same size as the inside of the box you want to transform. Then using the painters tape, tape it into the box on a slant. This slant should face the size where you wan the return hole.
- Tape the box shut making note of which sides are the top and return sides. I added painters tape to all the sides to give it a continuous feel.
- Cut out a circle on the top of the box. I traced a circle from a puzzle piece to make it round. Then covered the hole with tape to avoid paper cuts.
- Cut out a semi-circle being careful not to cut the bottom for the door. I went with a door to make this a bit more challenging for Teddy. If your baby is younger or not at the door needing stage, a hole might be more appropriate. Again, I lined the opening with tape to avoid paper cuts.
- Finally, poke two small holes into the door. String the ribbon through the holes and tie off the ends to make a handle.
I introduced the box right away with some balls that Teddy loves and it was very intriguing to him and honestly to Gus! They both have played with it quite a bit since. I'm guessing it will get some good use before heading back to the recycling bin!
Would your baby love a giant object permanence box?


